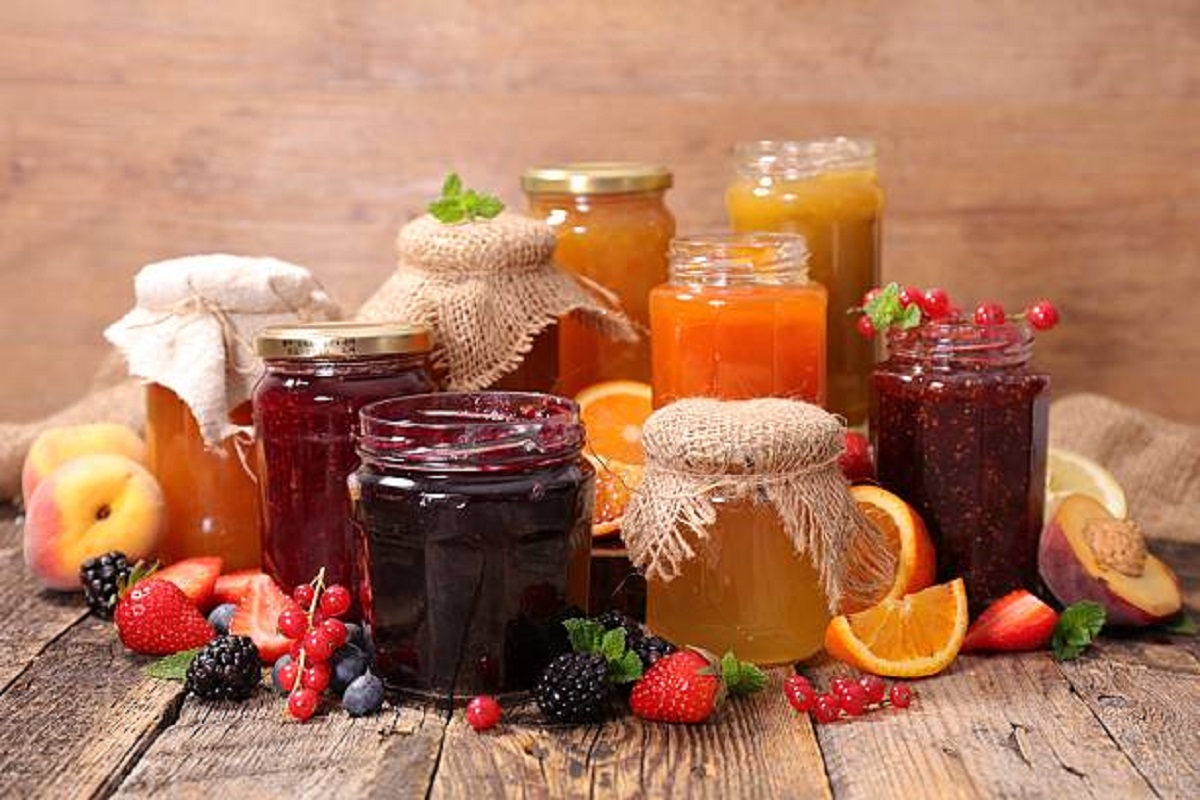
Making your own fruit preserves puts you in charge of all the ingredients
There are few things better than the taste of fresh fruit preserves served on a piping hot piece of bread in the morning.
I was raised to believe that anything that be made can be made better at home. Once you learn how to make your own fruit preserves, the basic steps necessary to produce your own tasty fruit preserves are easy to follow again and again.
Prepare the Fruit
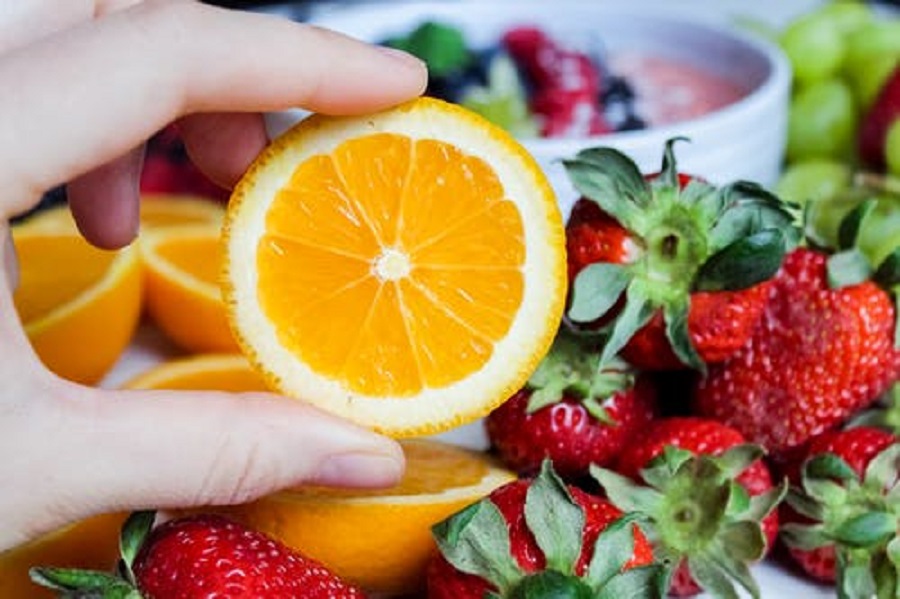
Make sure that you have removed any stems or cores present in the fruit as well as the skin (unless you are preserving something like cherries or blueberries). You will want to keep them in large chunks, as opposed to mashing them, like you would to make a jam.
Once the fruits are cut in the proper chunks, it time to prepare them by measuring the fruit in cups and adding sugar. As a general rule you should be adding ? of a cup for sugar for every cup of fruit. You will want to parcel the fruit into small batches of about four cups (with three of sugar). Add lemon juice for best results.
Once you have parceled out your batches, boil them down for about twenty minutes on medium to high heat while stirring regularly to avoid scorching or singing.
Canning
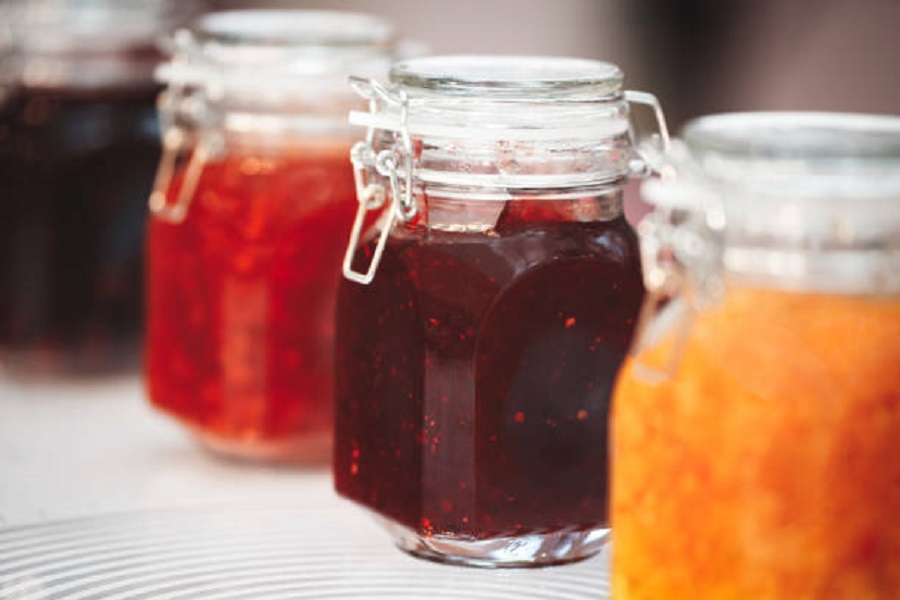
This the most important part of the process and the one where you are most likely to slip up. Once you have your preserves ready immediately use a funnel to pour them into a mason jar. Ideally you want to fill the jar up to the second spiral on the top of the jar. Once this is done you want to make sure that the jars are clean. It is very easy to get a small amount of the preserves on the side of jar, which make it impossible for the preserves to seal properly.
Once the jars are clean and properly filled it is time to pull out a tall pot, preferably one that will will be able to submerge the jars with two inches of water to spare. Bring the water to a boil and use rubber gloves or tongs to place the jars in at the bottom of the pot and leave them there for ten to twenty minutes depending on the altitude. Once you have processed them remove them from the water and wait for a noticeable popping sound, this will inform you that the process has been completed successfully.
Enjoy your preserves!
It is important to keep in mind that these are simply basic instructions and tips for the process of canning your own fruit preserves.
Different types of preserves call for different recipes and some can get quite elaborate. It is best to start by canning simple preserves made from fresh (ripe) fruits. Once you have that down you can begin making more complex things like jams, jellies and even specialty canned items with spicy or savory flavors added.
Homemade preserves also make great gifts for almost any occasion!